
Set-in sleeve
The sleeve joins the body in a seam around the shoulder, as on a regular tee. The chest and upper back stay clear for a full-size print.
A long-sleeve mockup has to show the sleeves, and a flat front view hides them. Add your artwork down either sleeve, on the chest or on the back, then turn the shirt in 3D to read it from the side.

9 mockups
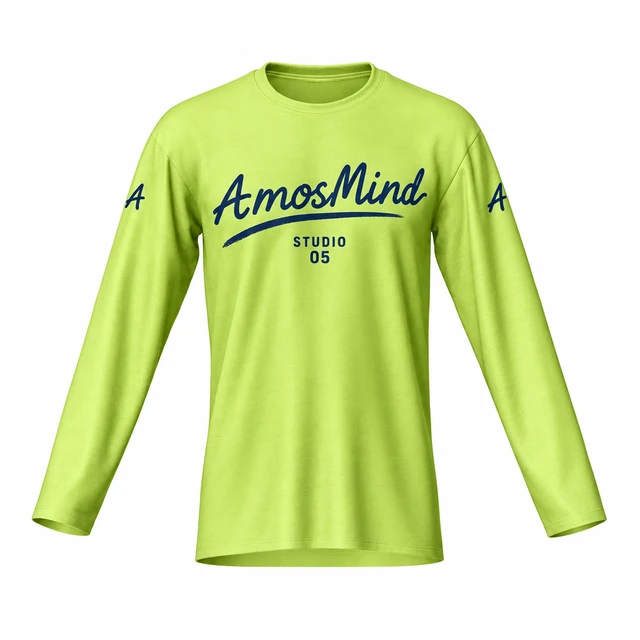 Add your design
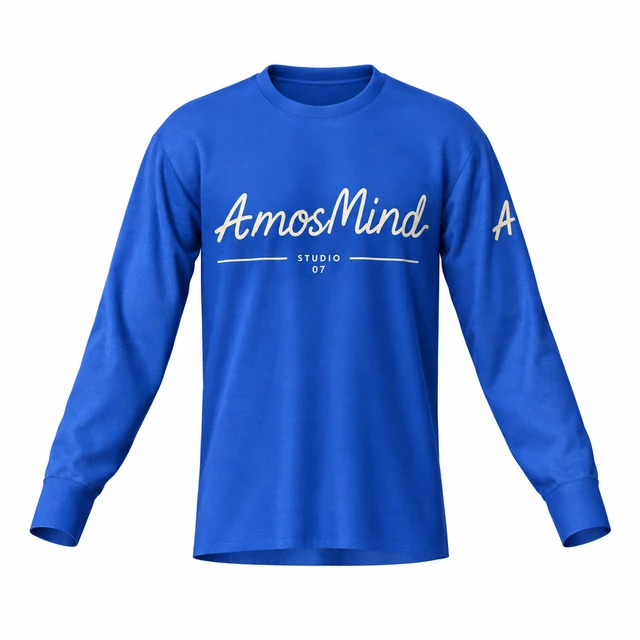 Add your design
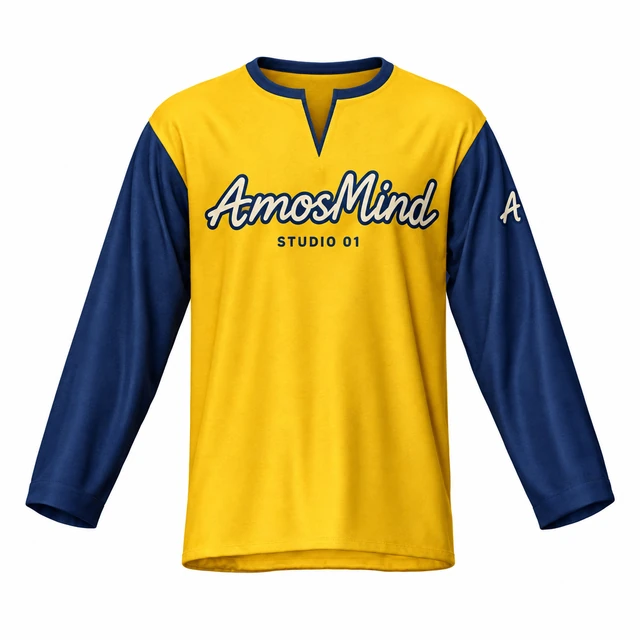 Add your design
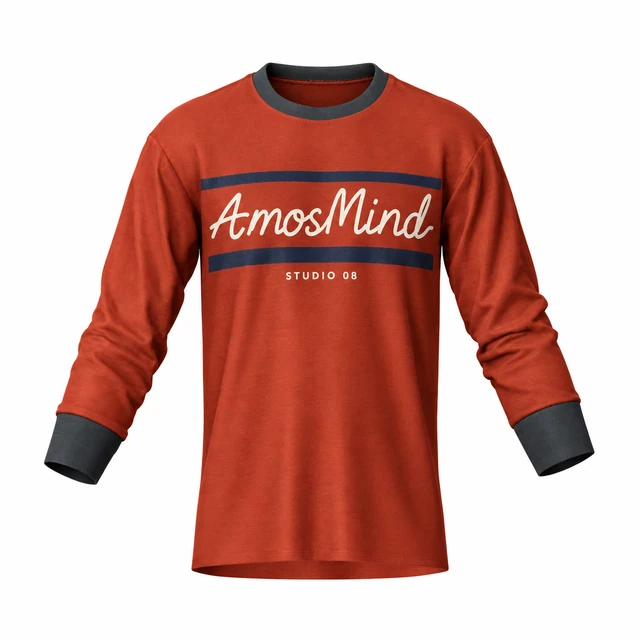 Add your design
 Add your design
 Add your design
 Add your design
 Add your design
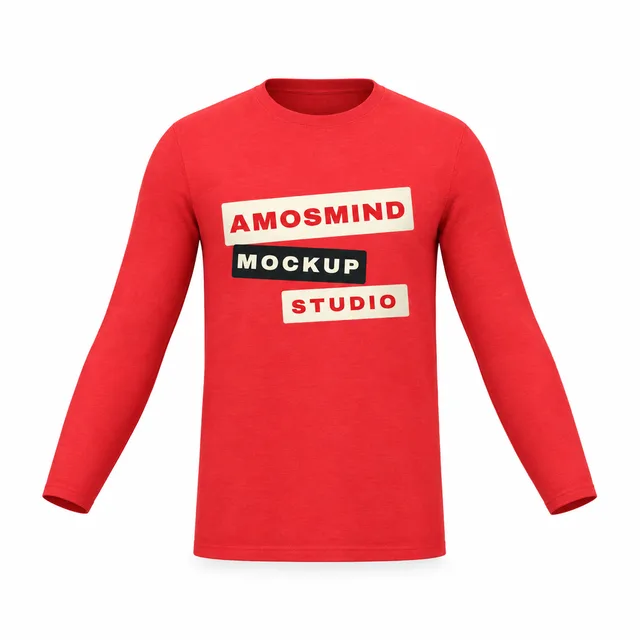 Add your design
The sleeves are the print area a long-sleeve tee adds over a short-sleeve one. Printers publish different sleeve limits, so size your artwork to your own printer first, then check how it reads on the 3D sleeve.
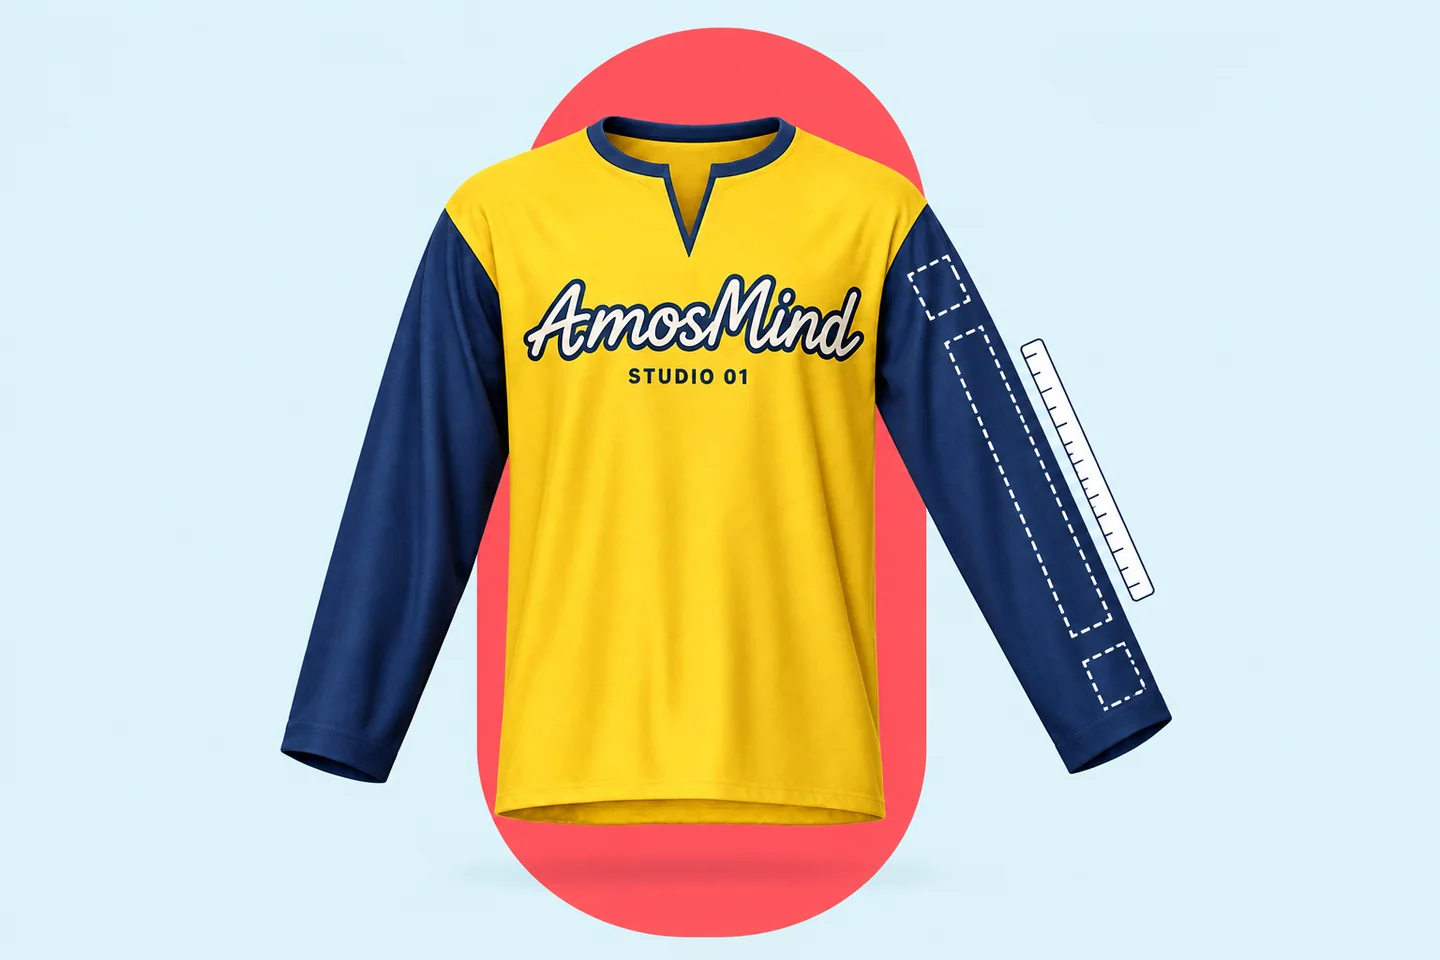
About 3–4 in wide, 12–15 in long (8–10 × 30–38 cm)
Runs down the outside of the arm. Published limits range from 3 × 12 in for print-on-demand DTG to about 4 × 14 in for DTF transfers.
Up to about 4 × 3.5 in (10 × 9 cm)
A logo or badge 3–4 in below the shoulder seam, the same spot as a short-sleeve print.
1–3 in (2.5–8 cm), small and simple
The sleeve tightens and bunches at the cuff. Keep wrist marks small, and stop long prints 2–3 in above the cuff seam.
No single standard
On one sleeve, shoulder to wrist is the most common reading direction. On two sleeves the text usually runs in opposite directions, so agree which way with your printer.
Sizes are limits published by print providers and print shops. They vary by printing method and by shop, so your printer's template comes first. Each sleeve is a separate print location and is usually charged as an extra print.
How the sleeve is attached and how it ends both change where a print can go. Find the construction your blank uses, then open a style that matches it.
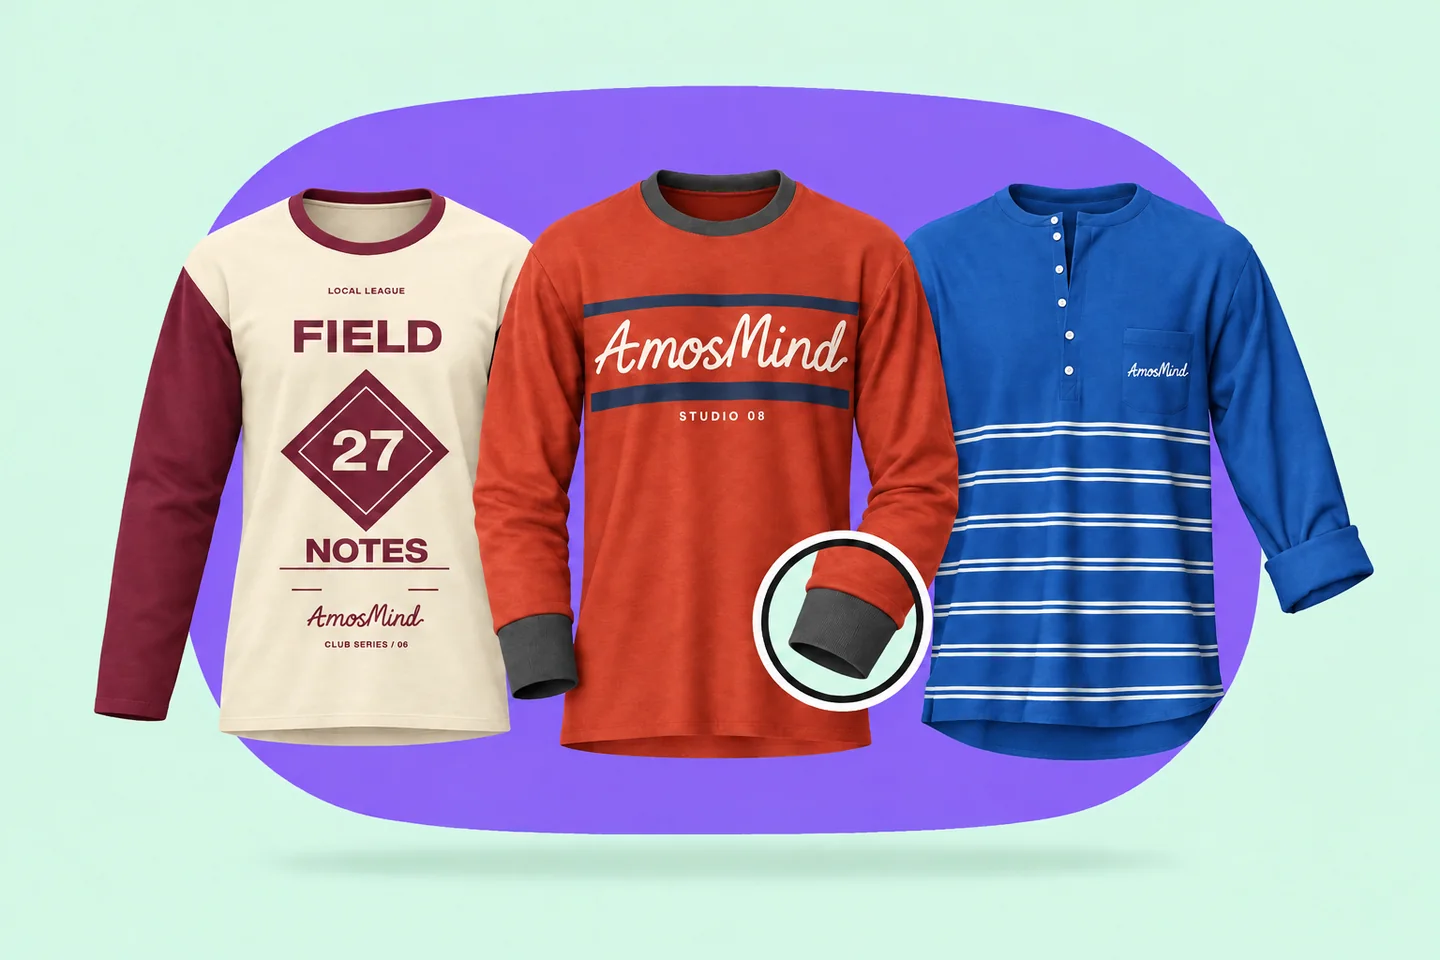
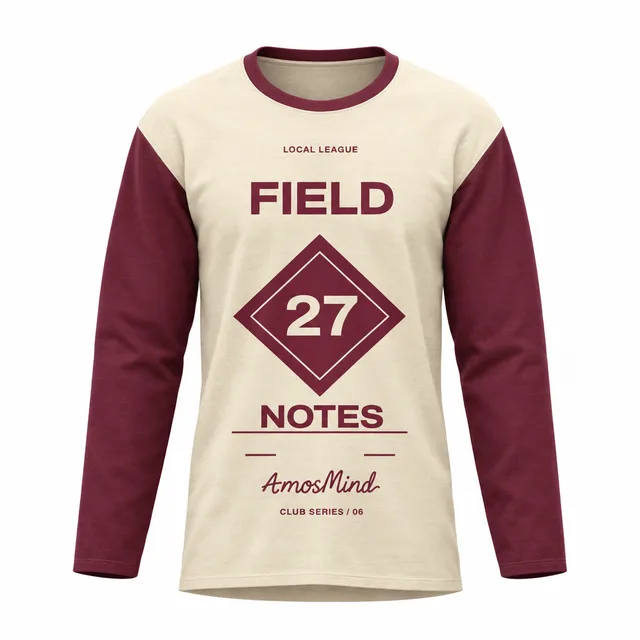
The sleeve joins the body in a seam around the shoulder, as on a regular tee. The chest and upper back stay clear for a full-size print.
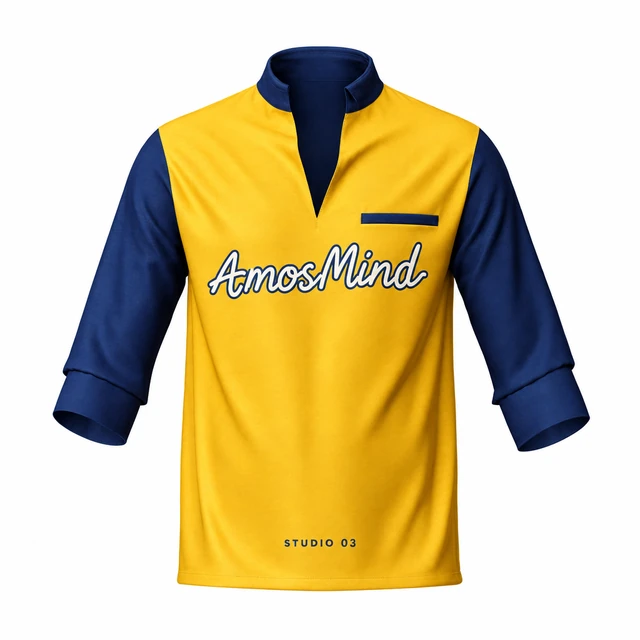
A diagonal seam runs from the underarm to the collar, so the sleeve takes in the shoulder. Keep chest and back art clear of the seams.
A stretch rib band closes the sleeve at the wrist. Most long-sleeve blanks have one, and here it can take its own color.
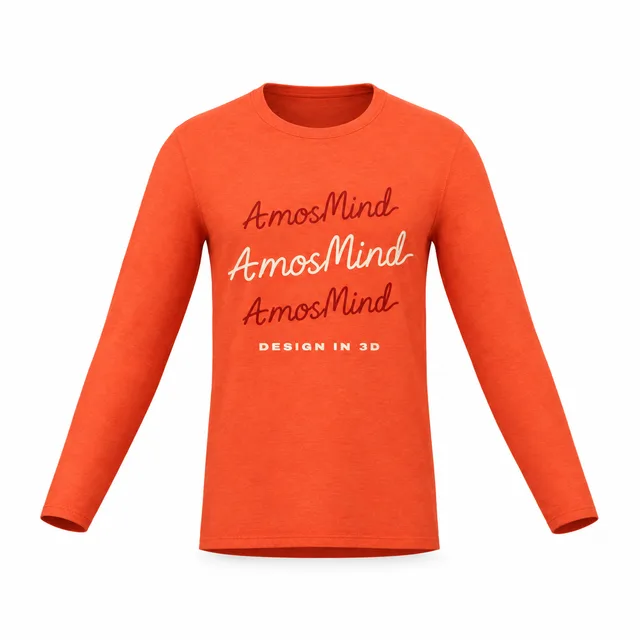
The sleeve ends in a plain stitched hem with no rib band, so it hangs straight to the wrist. Some lighter, retail-fit blanks are made this way.
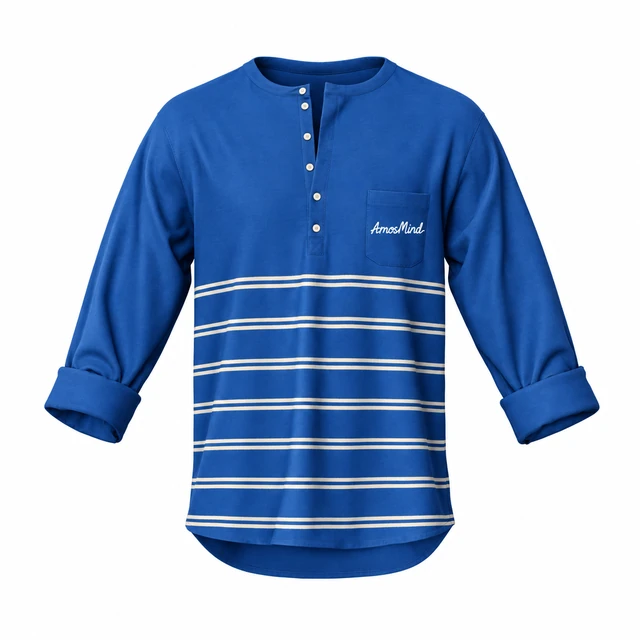
A collarless neckline with a buttoned placket, usually 3 to 5 in long. Ink does not hold on buttons, so chest art goes below the placket or on the left chest.
Two styles are modeled with the sleeves turned back toward the elbow, which leaves less sleeve to print. Place sleeve art on the upper arm.
"Long sleeve" covers several garments. They differ in fabric and weight, and a print sits differently on each, so check which one you are actually ordering.
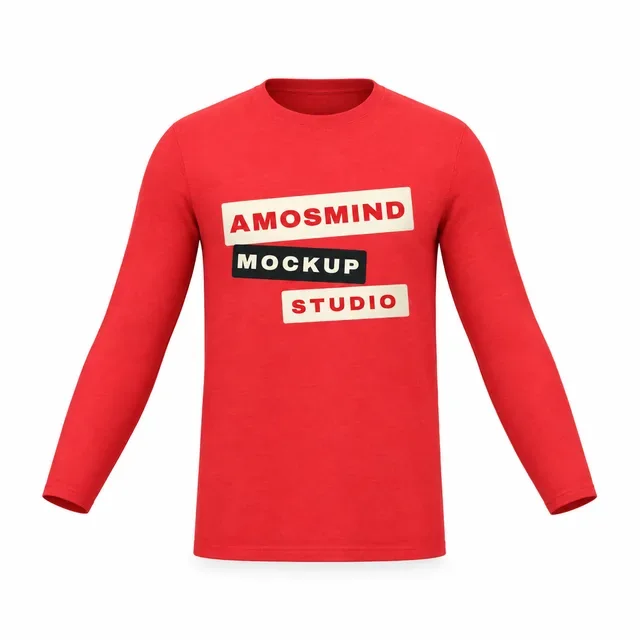
Smooth and flat, so it holds fine print detail. Hemmed at the bottom, with ribbed or hemmed cuffs. Every style on this page is one.
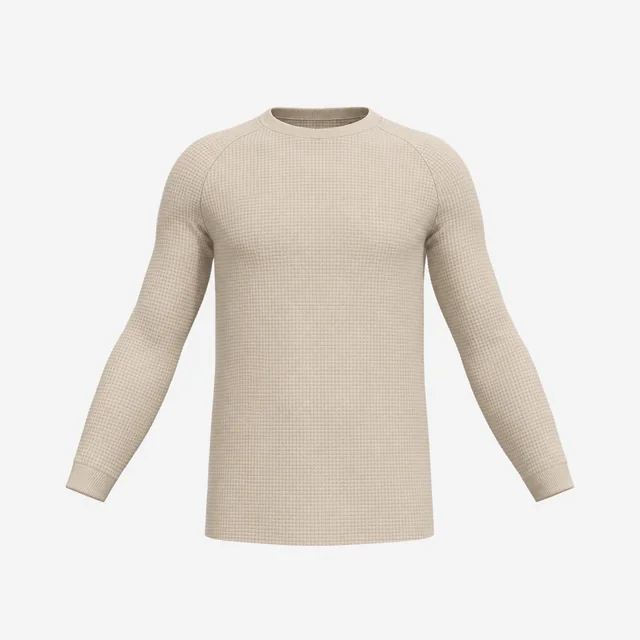
A textured grid knit made for warmth. The styles here show smooth jersey, not a waffle texture, so use them as a guide to placement only.
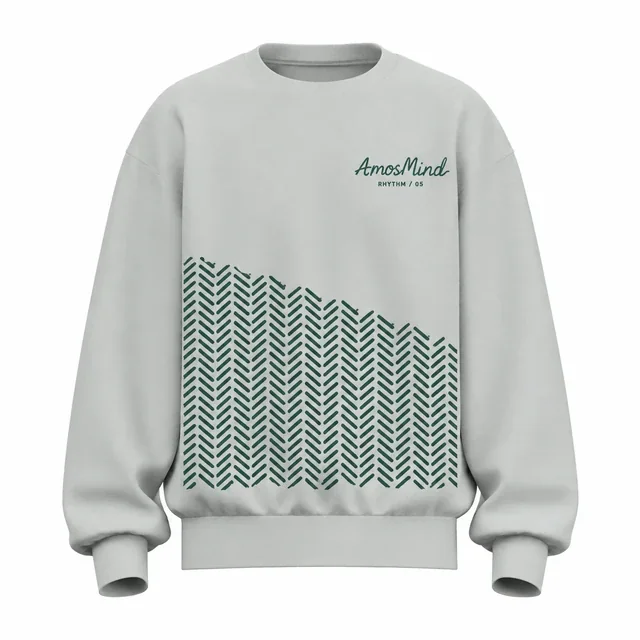
Thicker and brushed inside, with rib bands at the hem as well as the cuffs. It is a different garment and needs a sweatshirt or hoodie mockup.
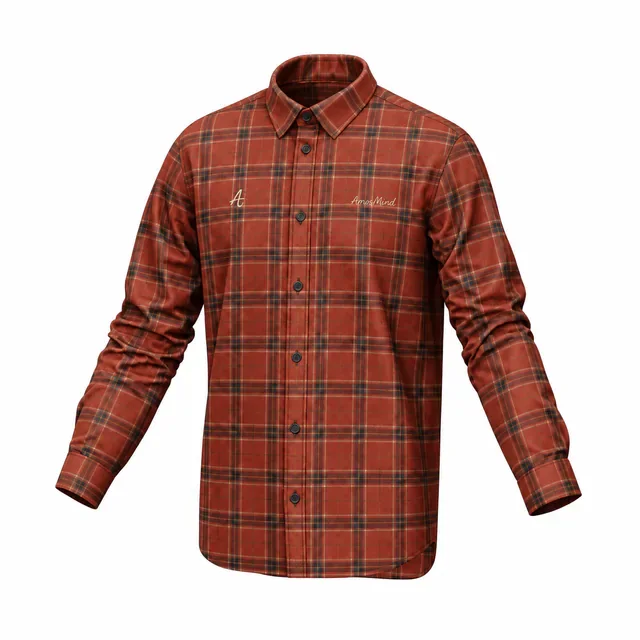
A collared shirt with a full button front, cut from woven cloth instead of knit. It is not a T-shirt and needs its own mockup.
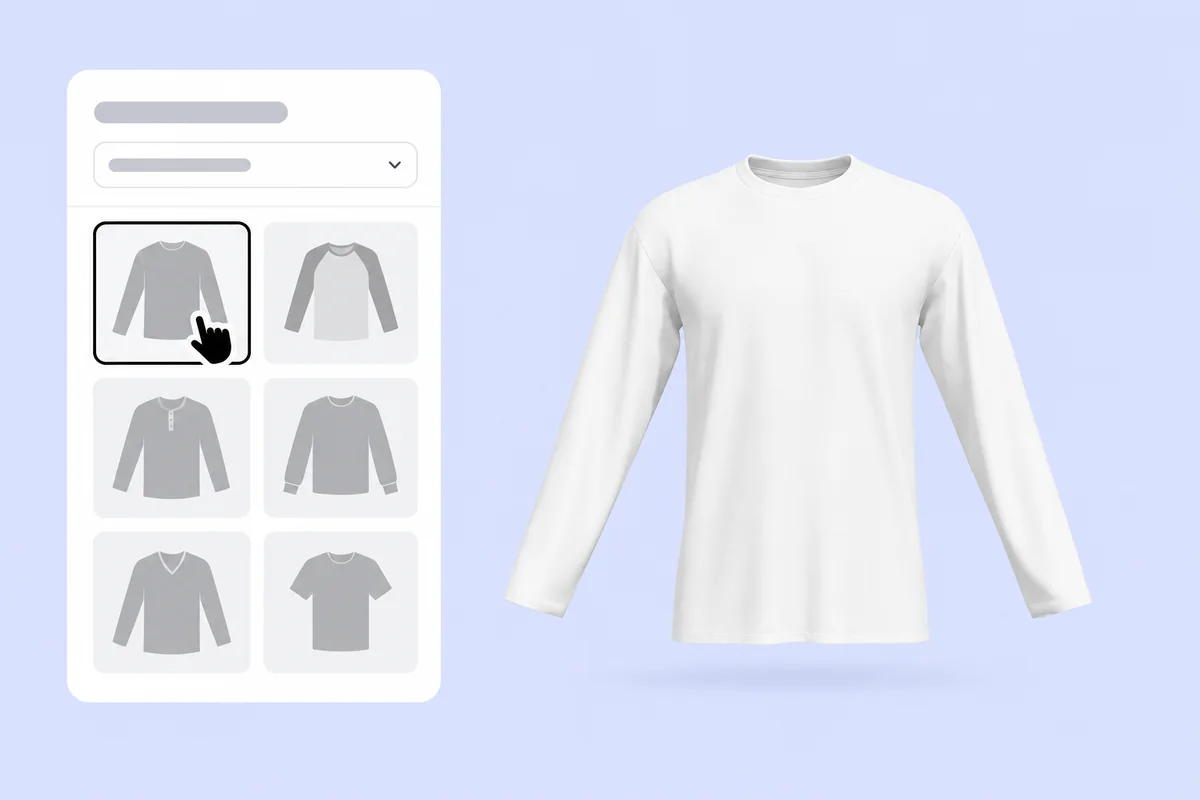
Choose a crew neck, a raglan or a Henley on this page. It opens as a full 3D shirt in your browser.
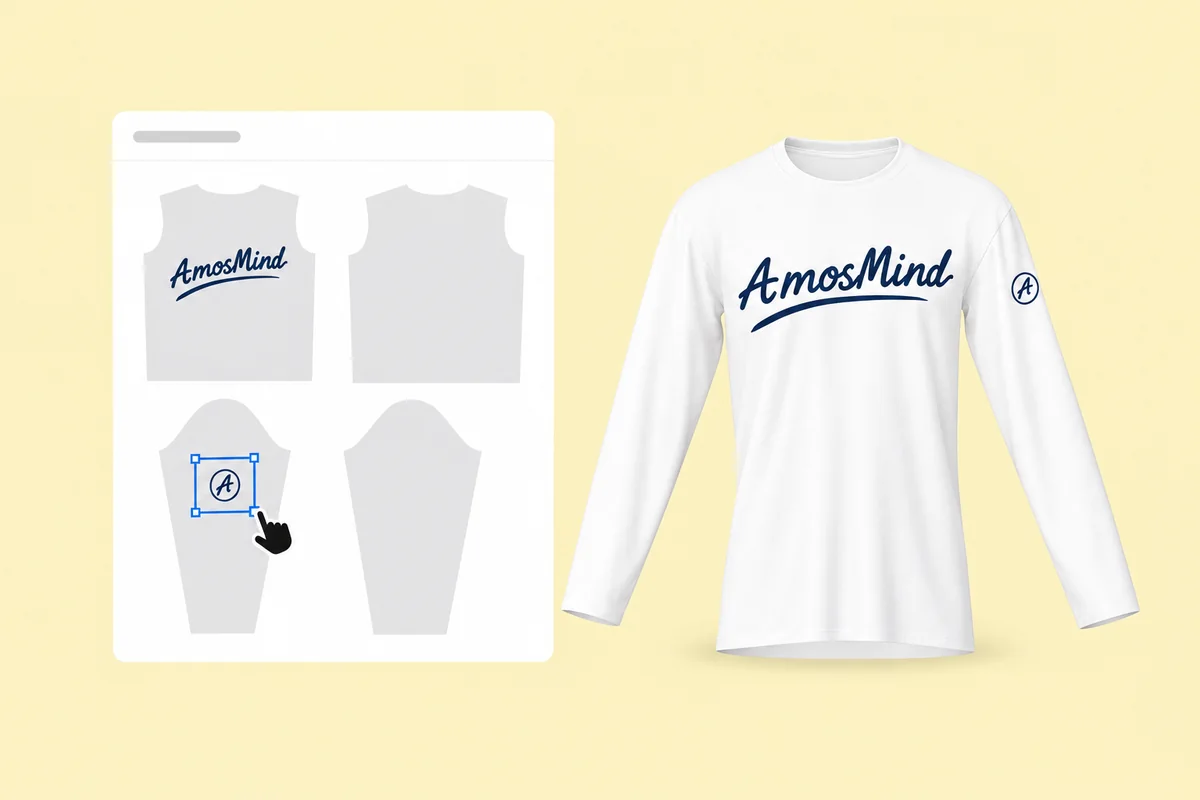
Click Upload artwork and add a PNG, JPG, WebP or SVG. Drag it onto the front, the back or either sleeve, and scale it to your printer's sleeve limit.
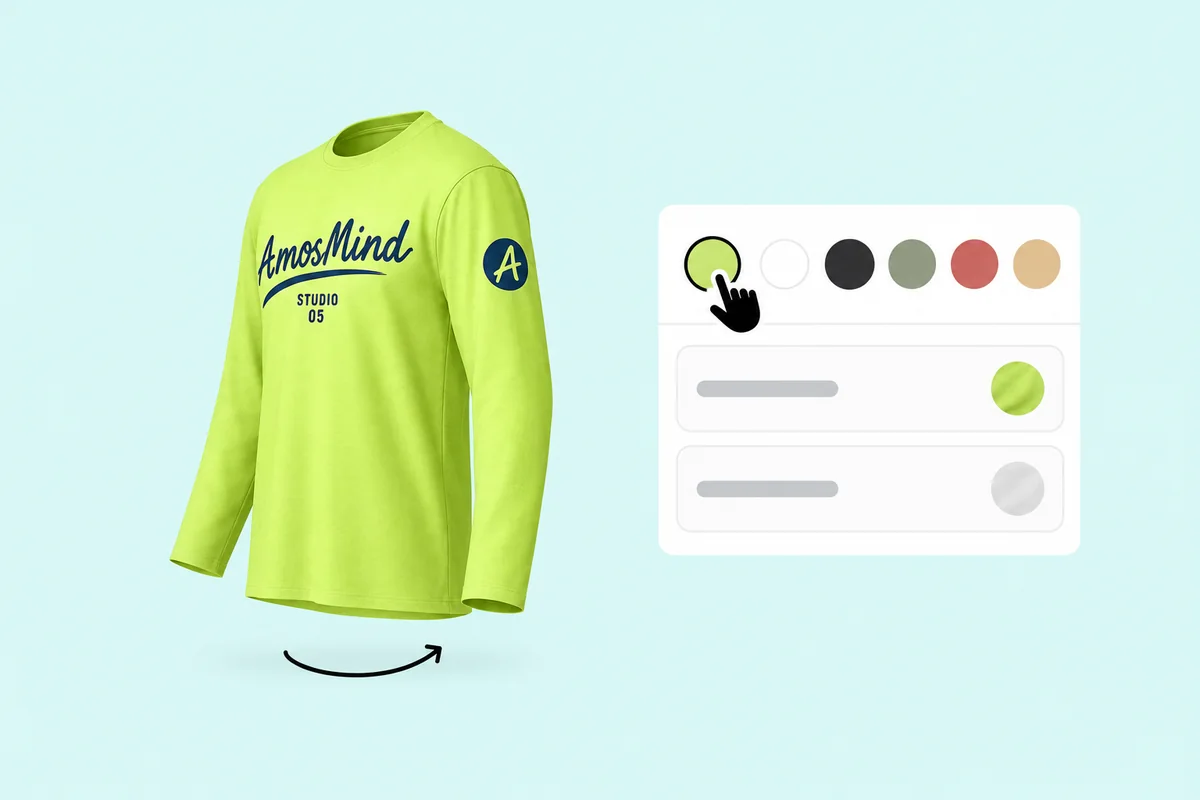
Rotate the shirt to read the sleeve the way people will see it. Set a Garment color, and color the cuffs and neckband on styles where they are separate parts.
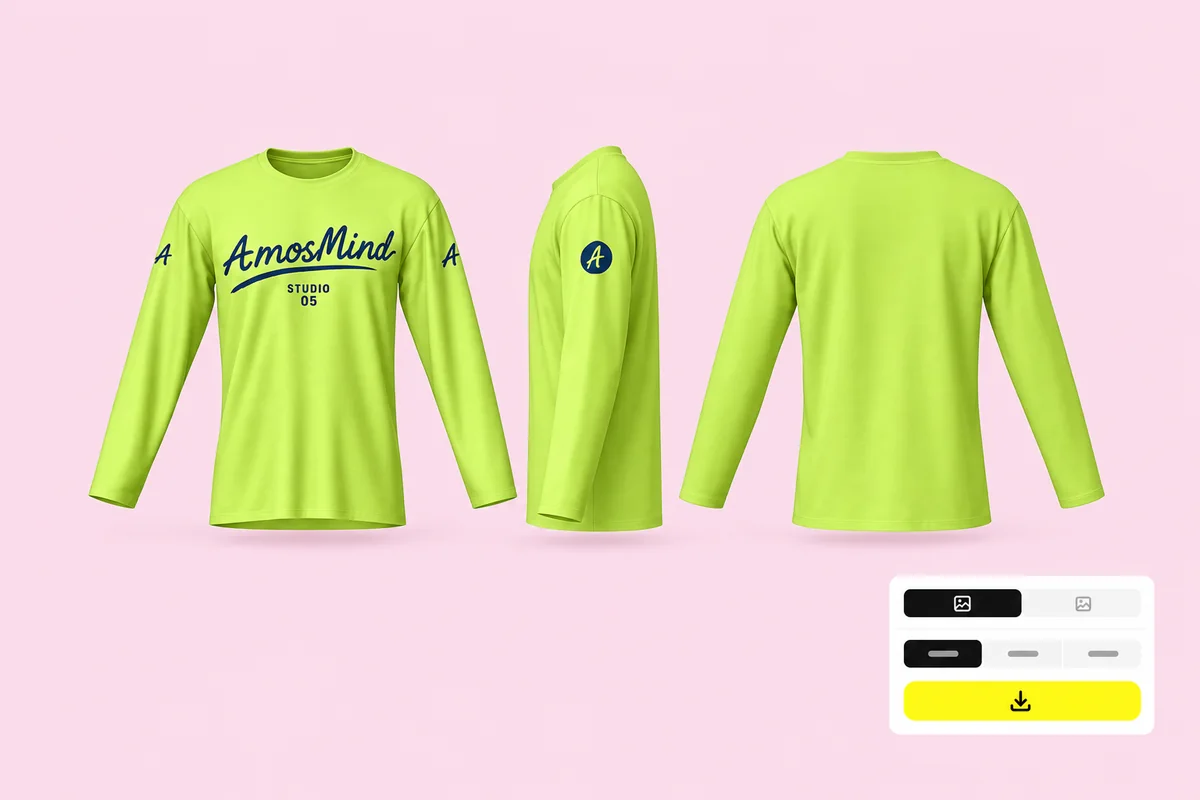
Click Render & export and choose 2K or 4K. Render the front, a side view for the sleeve and the back, or choose Transparent in the Background panel for a PNG.
Short-sleeve fits, the same T-shirts set up in black and white, back views, and hoodies for heavier fleece.
Long sleeves earn their place when the sleeve carries part of the design, or when the season calls for them.
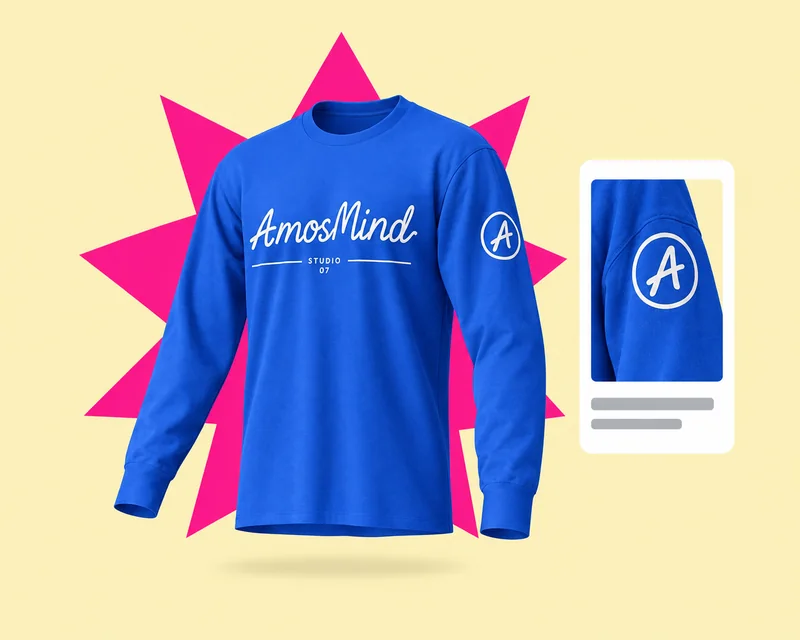
Vertical text down the arm is the signature long-sleeve graphic, often paired with a small chest logo and a large back print.
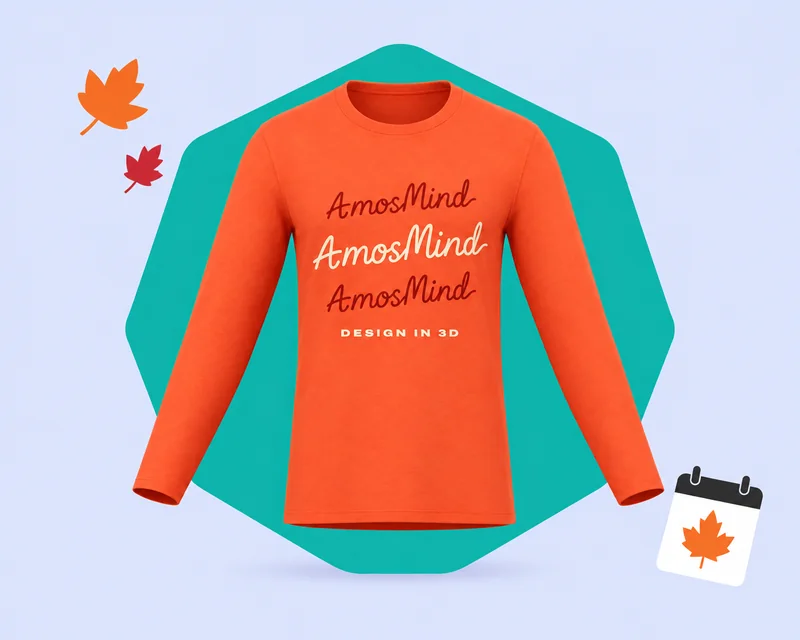
Stores add long sleeves when the weather cools. Move a summer design onto a long-sleeve style and check it before you order samples.
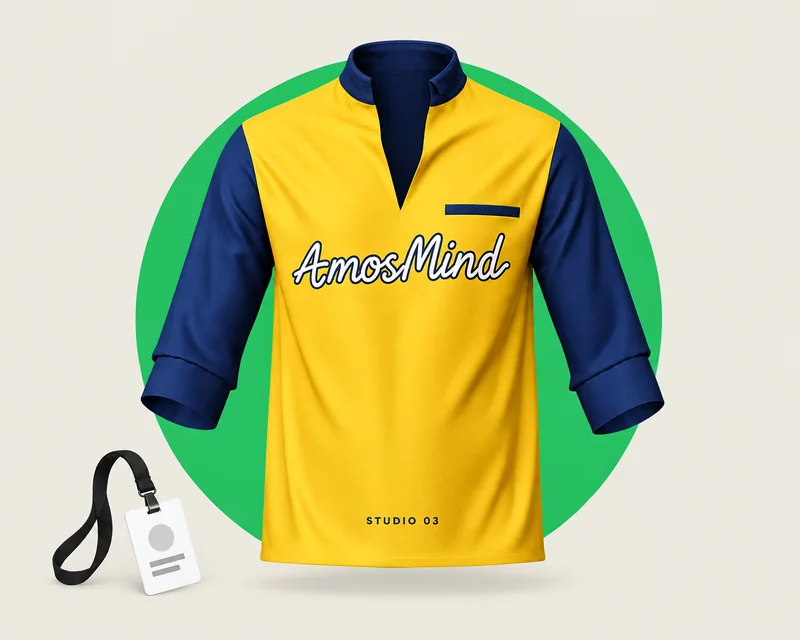
Teams often print both sleeves, and staff shirts put a logo at the wrist or upper arm, where it stays in view while people work.
Answers about sleeve prints, cuffs and exports for long-sleeve T-shirts. For print areas on the body, see the T-shirt mockups page.
For a print down a long sleeve, plan about 3 to 4 inches wide and 12 to 15 inches long. Published limits differ: print-on-demand DTG stops around 3 × 12 in, DTF transfers around 4 × 14 in. Ask your printer for their sleeve template.
Either works. When only one sleeve is printed it is most often the left, and team shirts often print both. Each sleeve is its own print area in the editor, so try both sides and render the one you choose.
Pick a long-sleeve style above, upload your artwork and drag it onto the front, back or sleeves. Set the shirt color, turn it to check each side, then render the images. AmosMind makes the mockup; a print shop or print-on-demand service makes the shirt.
Browsing the long-sleeve T-shirts on this page and previewing them in 3D is free. Log in with an email code or Google to upload artwork, save projects and render images. Only use artwork you own or have permission to use.
There is no single standard. On one sleeve, text that reads from shoulder to wrist is most common. On two sleeves printers usually run it in opposite directions, and shops disagree on which arm reads up. Turn the 3D shirt, then settle it with your printer.
Yes. Each sleeve is its own print area in the editor. Print shops treat each sleeve as a separate print location, usually at an extra charge per sleeve.
No. A long-sleeve tee is jersey knit at about 4 to 6.5 oz/yd², with a hemmed bottom. A crewneck sweatshirt is fleece at around 8 oz/yd², with rib bands at the cuffs and the hem. For fleece, use a hoodie or sweatshirt mockup.
Yes. Put artwork on the front, back and sleeves of one shirt, then render each view as its own image. All of them come from the same design, with the same light and color.