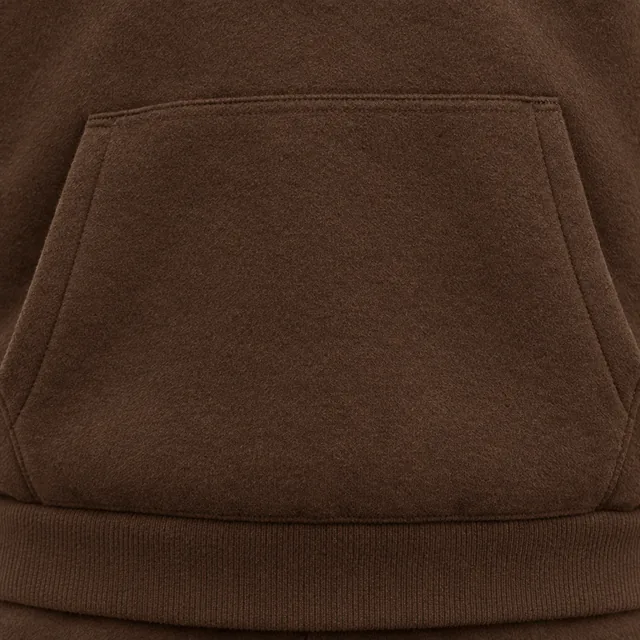
Fleece knit
A soft nap and matte surface, like a brushed-back hoodie.
Put your artwork on the chest, back, sleeves, hood or pocket, color the drawstrings and cuffs, and turn the hoodie to check every side. Render the views you need as images up to 4K.
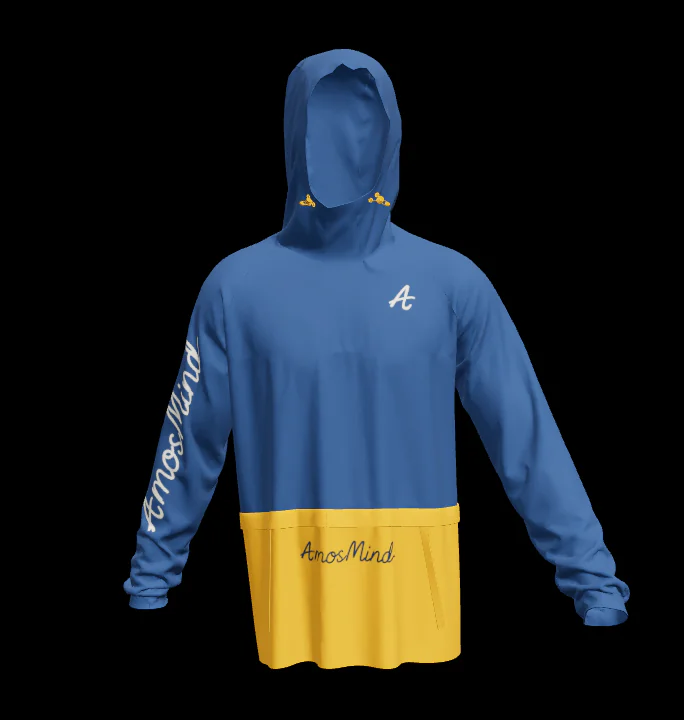
31 mockups
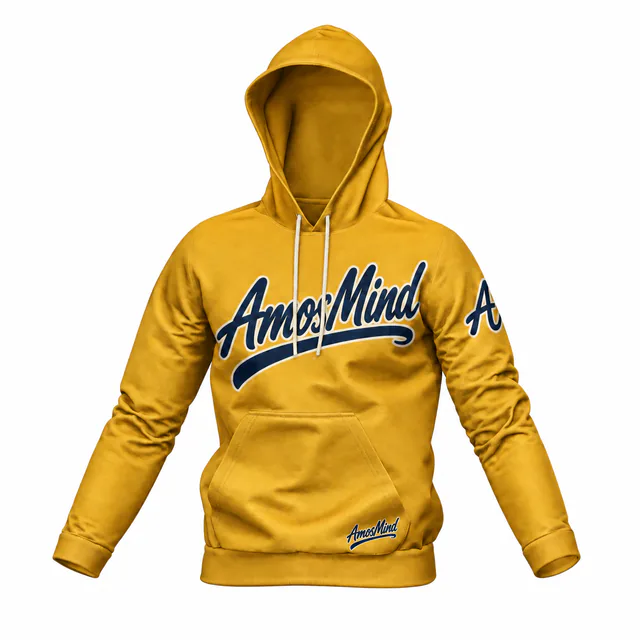 Add your design
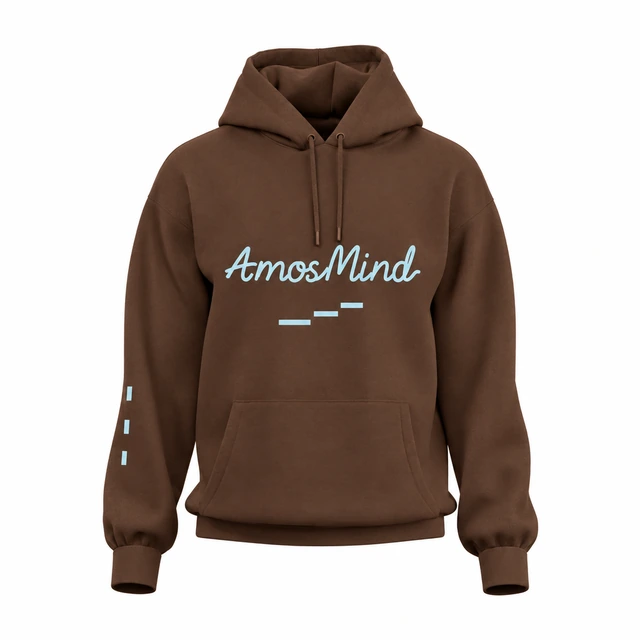 Add your design
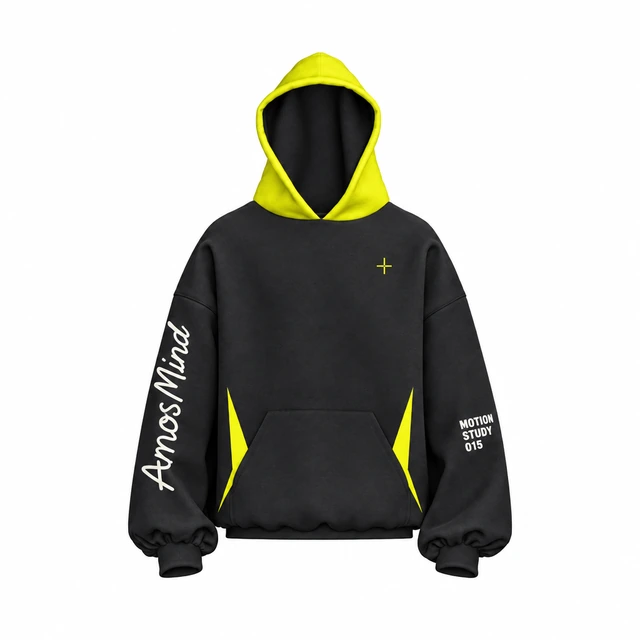 Add your design
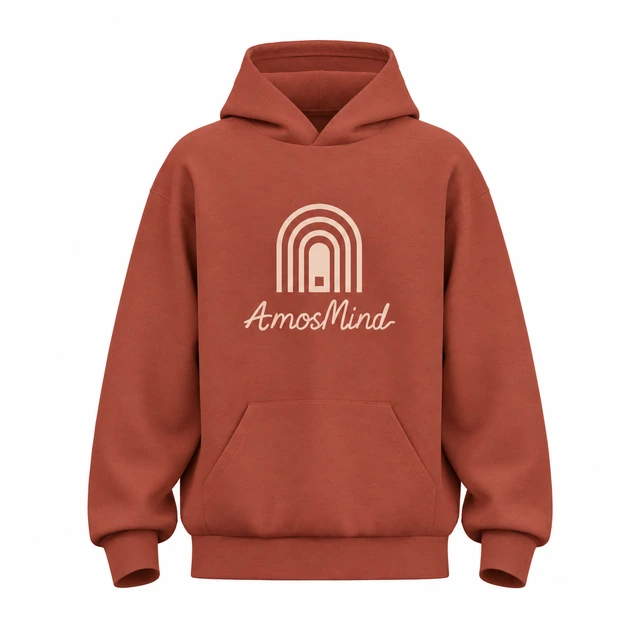 Add your design
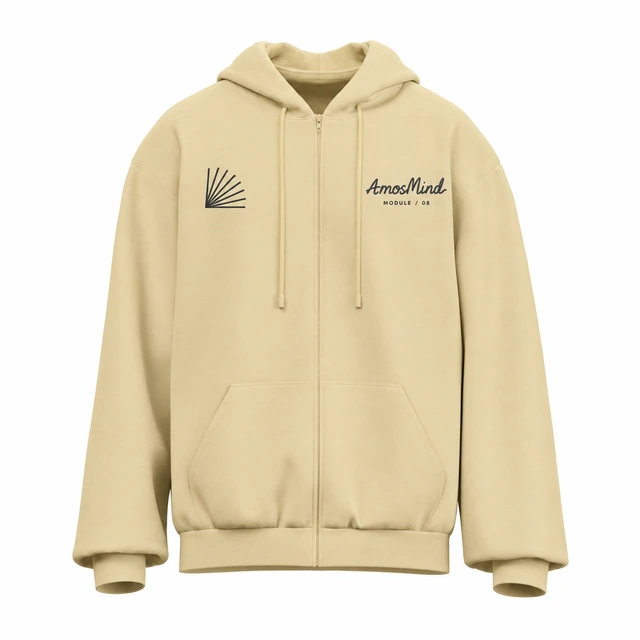 Add your design
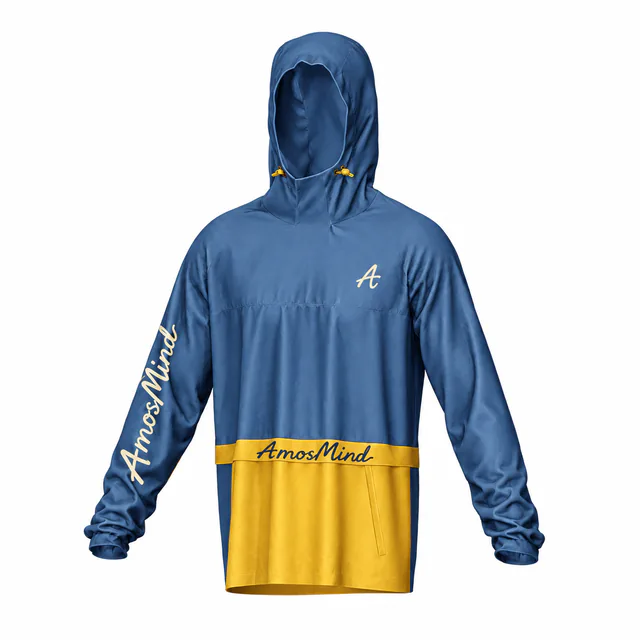 Add your design
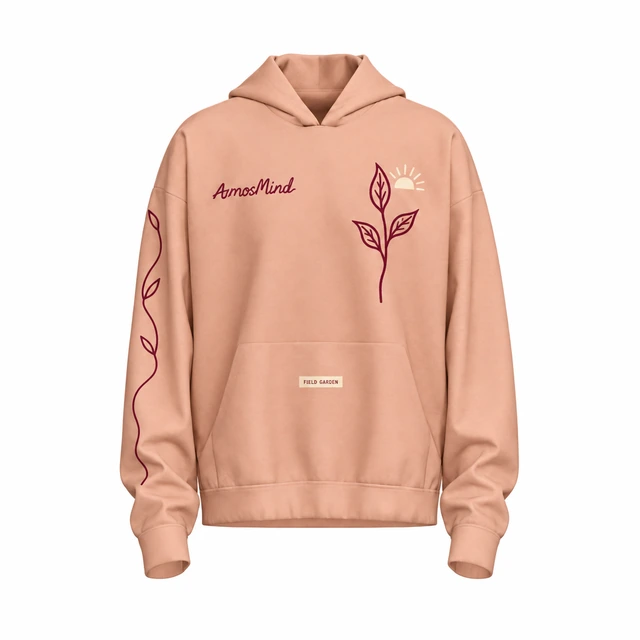 Add your design
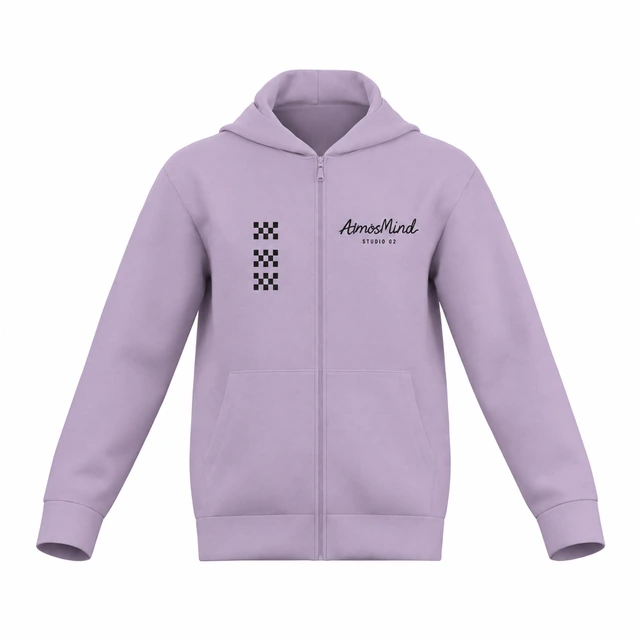 Add your design
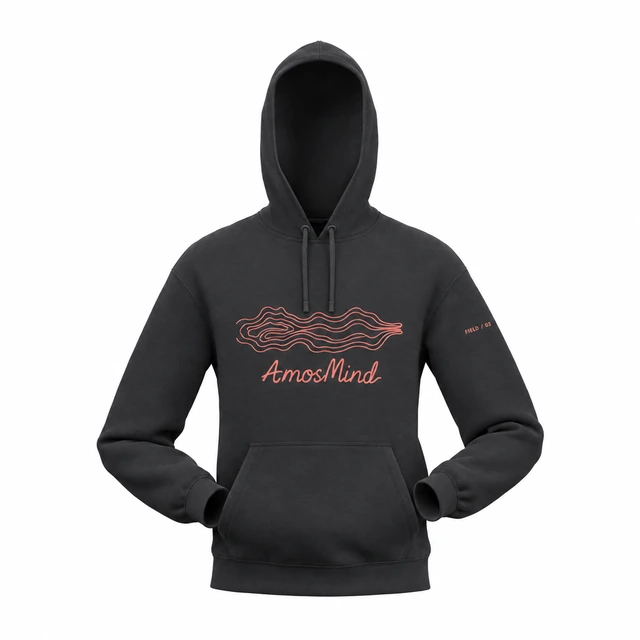 Add your design
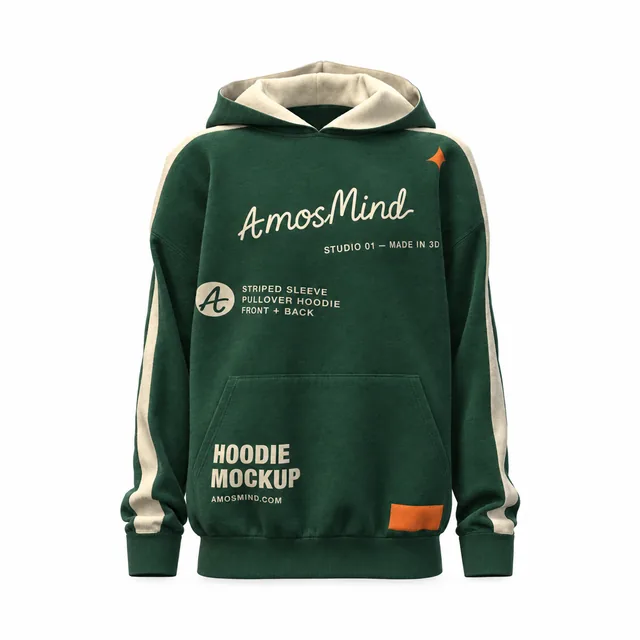 Add your design
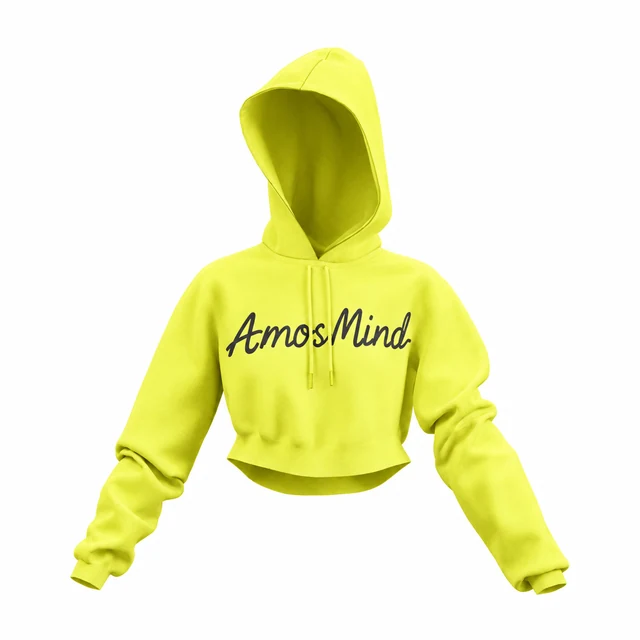 Add your design
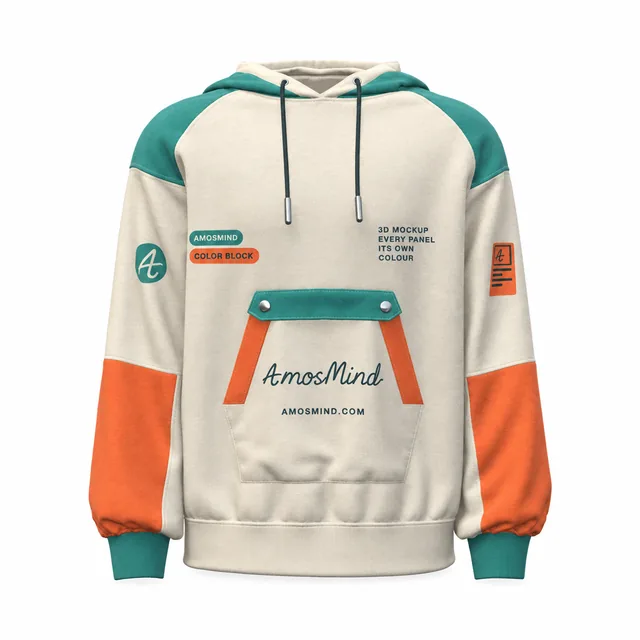 Add your design
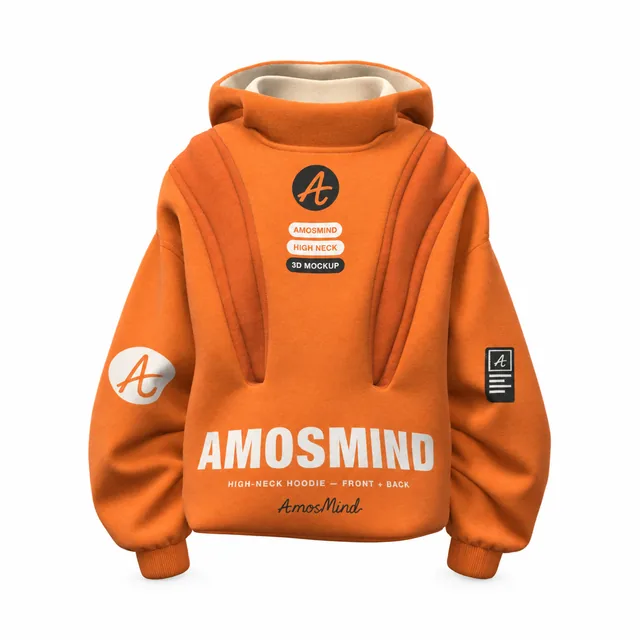 Add your design
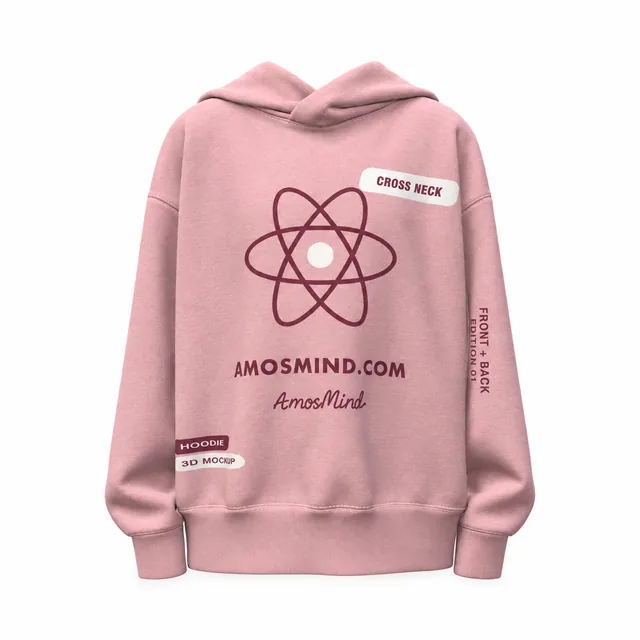 Add your design
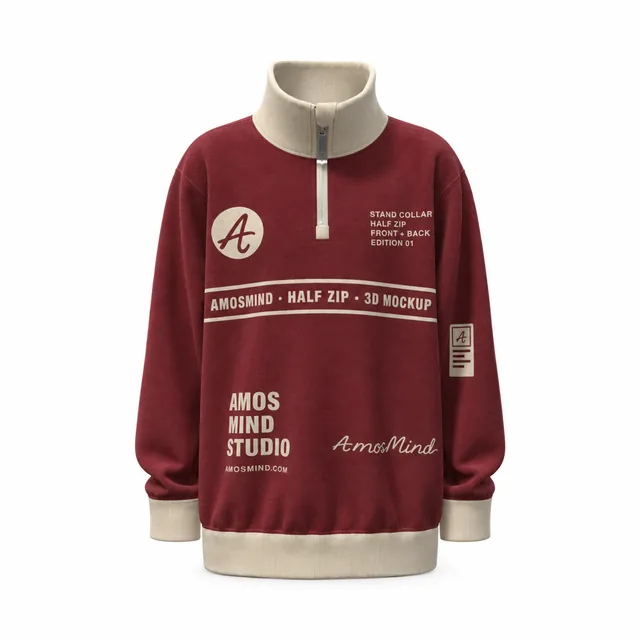 Add your design
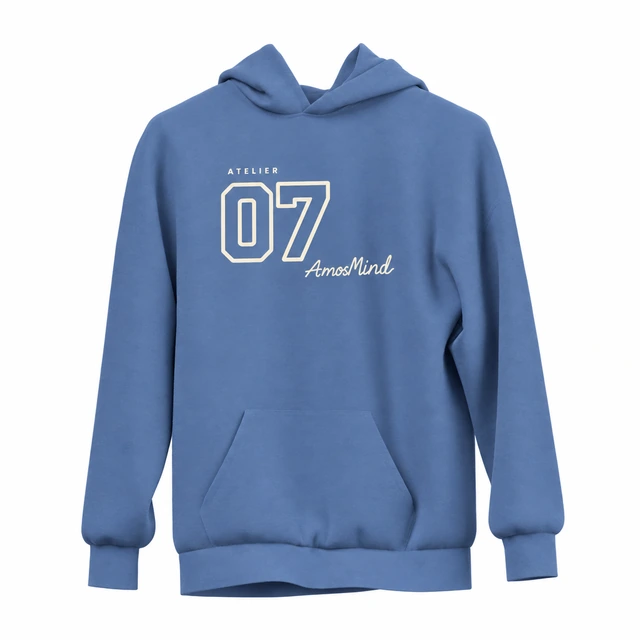 Add your design
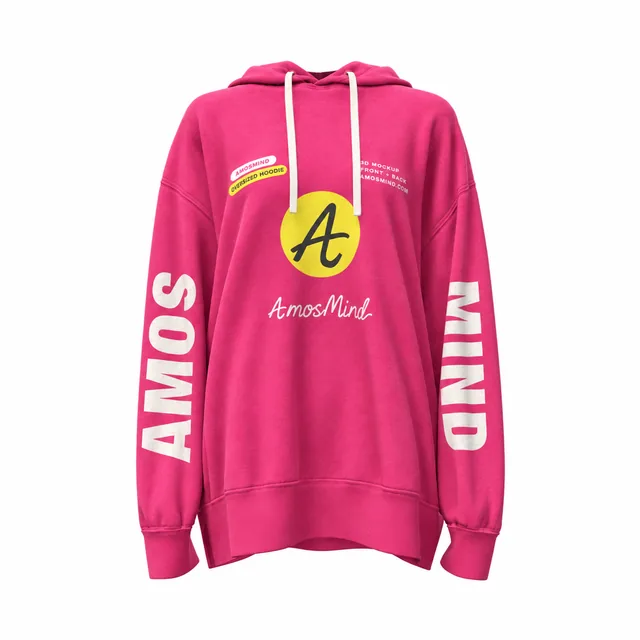 Add your design
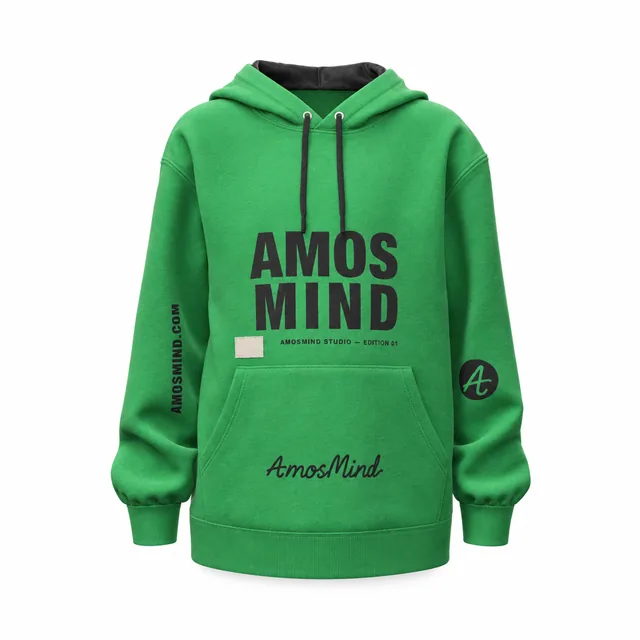 Add your design
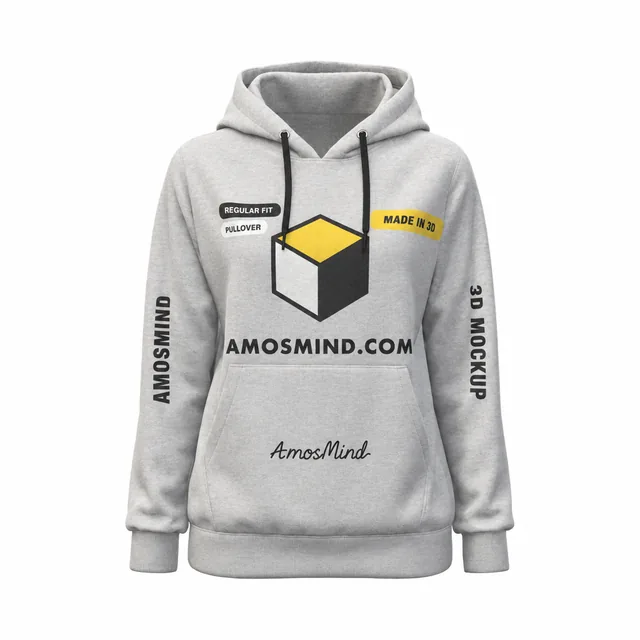 Add your design
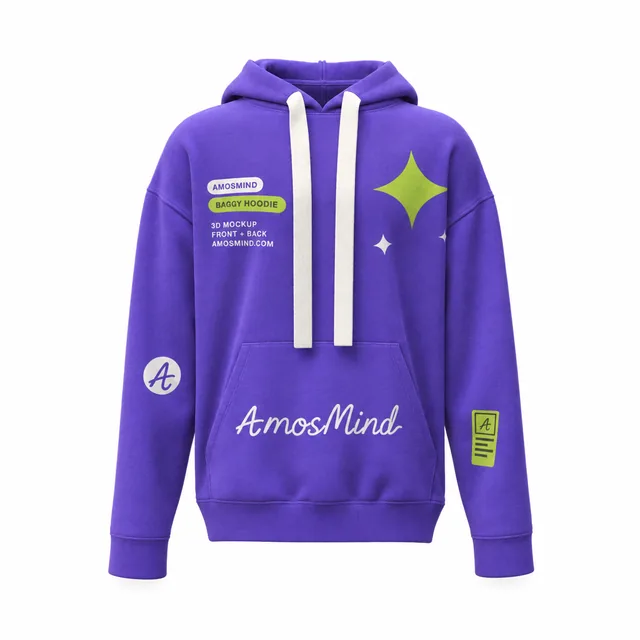 Add your design
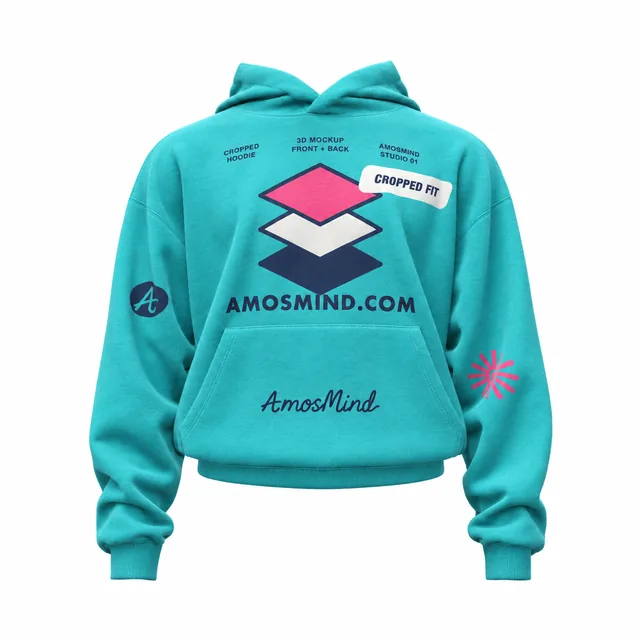 Add your design
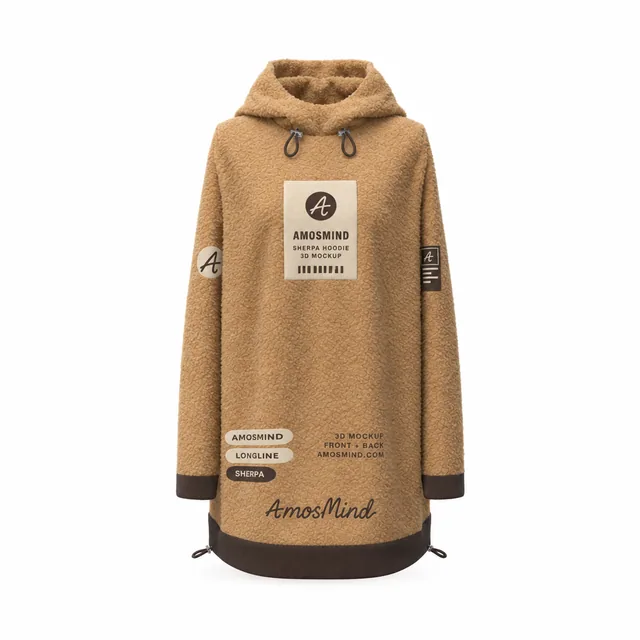 Add your design
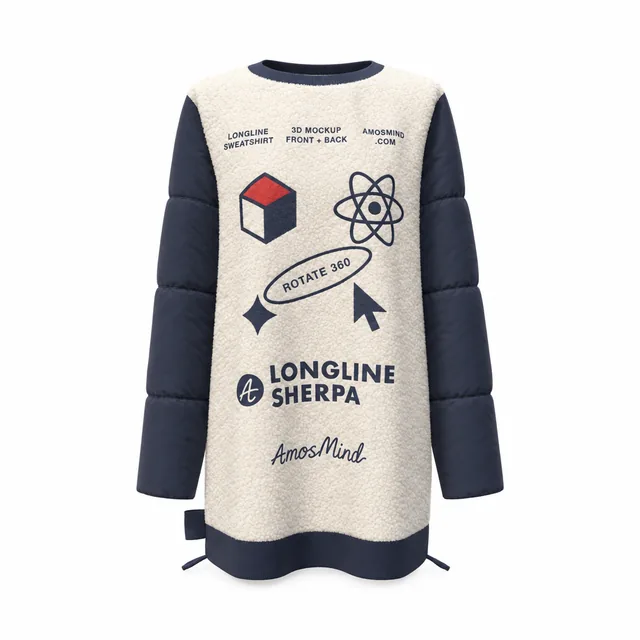 Add your design
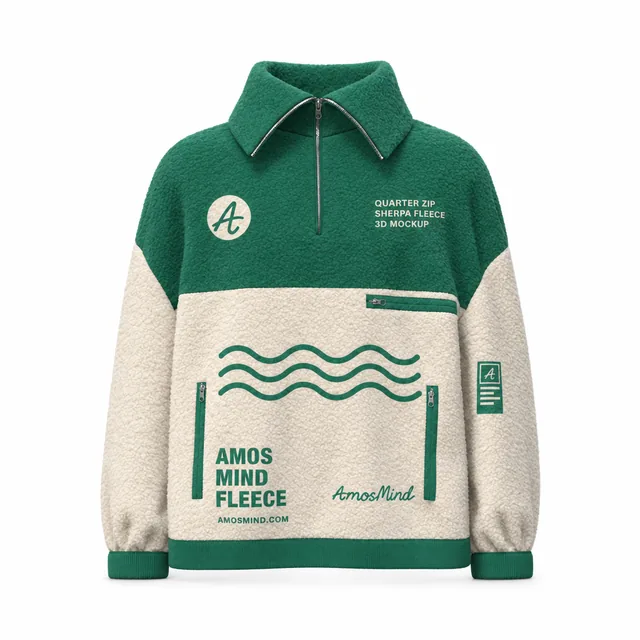 Add your design
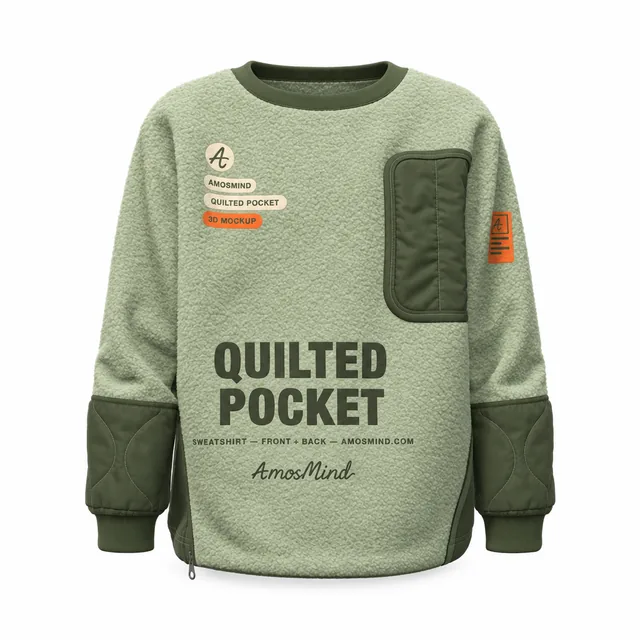 Add your design
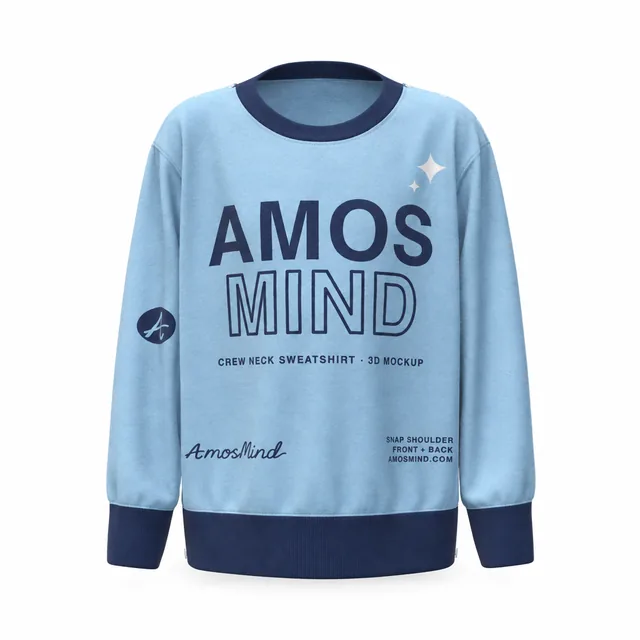 Add your design
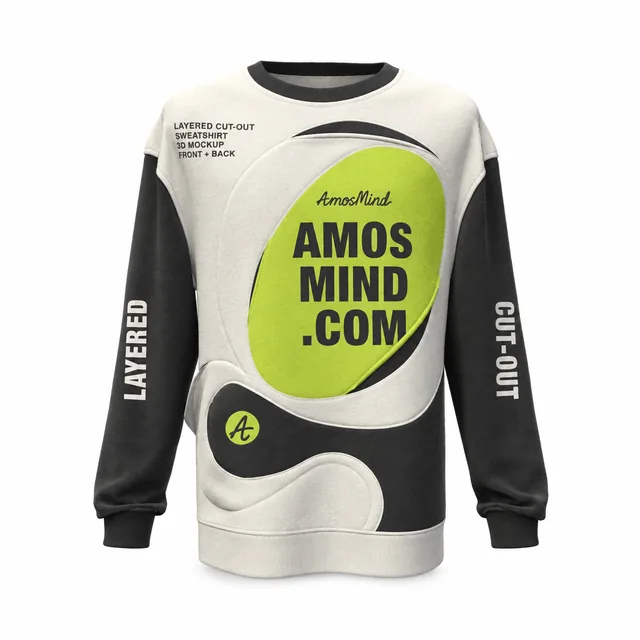 Add your design
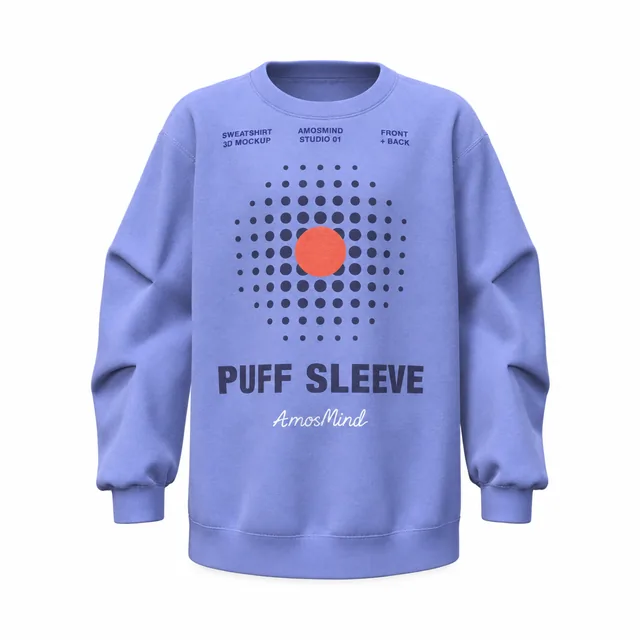 Add your design
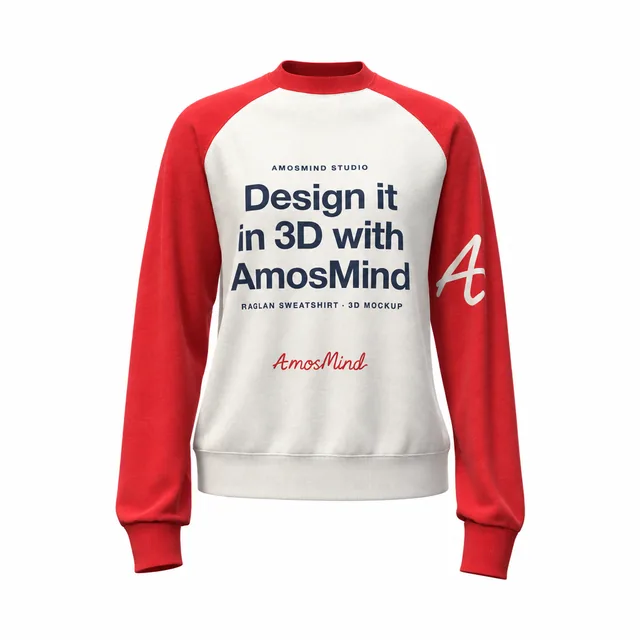 Add your design
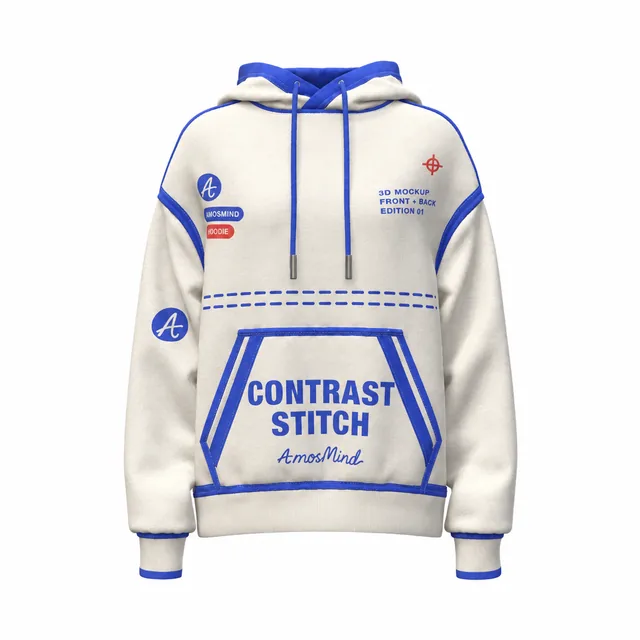 Add your design
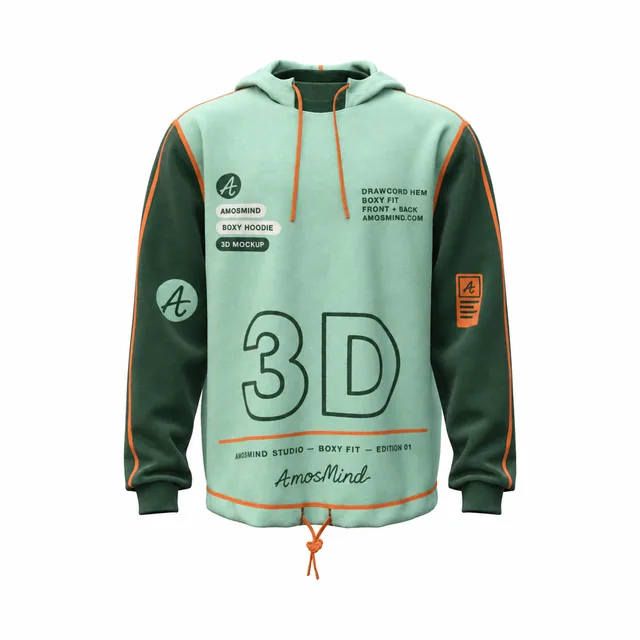 Add your design
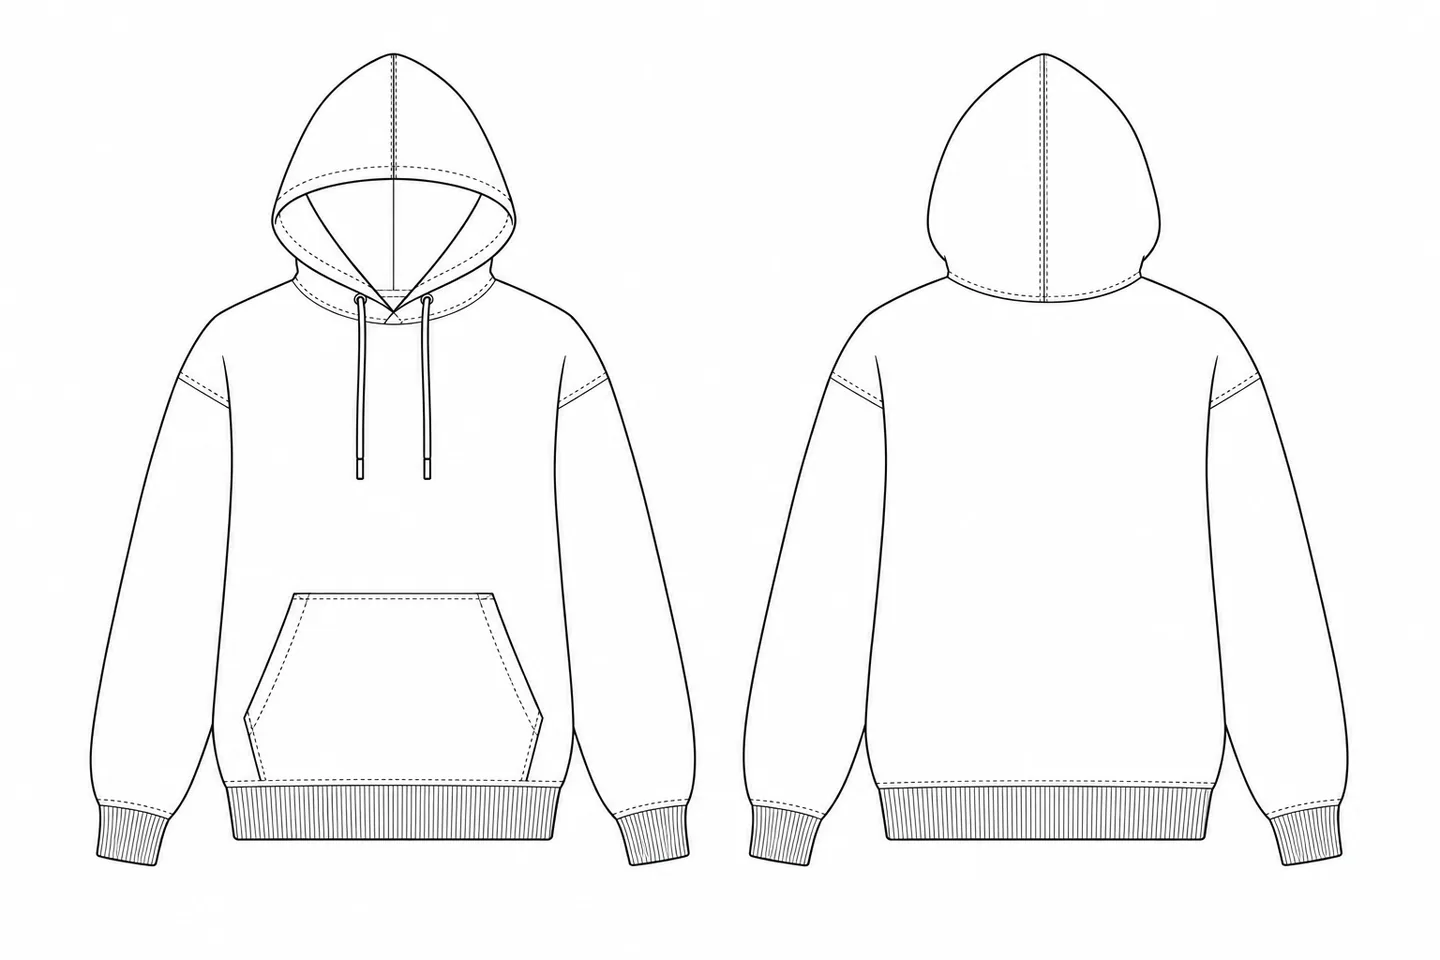
A hoodie has more separate parts than a T-shirt, and each one changes how a design reads. These are the parts you will find on AmosMind hoodies, and what you can do with each.
The hood and its lining.
On most pullover styles the hood is its own print area, so a mark on the side of the hood shows from the back and sides.
The cords threaded through the hood.
On styles that have them you can color them on their own, for example white cords on a black hoodie.
The pouch pocket on the front.
It is a separate print area on pocket styles, and its top seam sets how tall a chest print can be.
The stretchy knit bands at the wrists.
Color them to match the body or to contrast.
The rib band at the waist.
Color it with the cuffs for a two-tone look.
On zip-ups the front is two panels, left and right.
The zipper and its teeth are separate parts you can color.
Hoodies give you more places to print than a T-shirt, and a few that need care. The pocket, the hood and the zipper all change where a design can go.
Up to about 12 × 10 in (30 × 25 cm)
Ends above the pocket seam · wordmarks, varsity lettering
3.5–4 in (9–10 cm) wide
Small logos, embroidery-style marks
Up to about 3 × 14 in (7.5 × 35 cm)
Runs down the arm · vertical text, drop names
Inside the pocket panel
Small marks and repeats
About 4 × 4 in (10 × 10 cm)
On the side or back of the hood · icons, numbers
Up to 12 × 14 in (30 × 35 cm)
Starts below the hood · big graphics, names and numbers
On zip-ups the zipper runs through the middle, so keep chest art on the left chest or place it on the left and right panels separately. Sizes are common DTG and screen-print limits for adult hoodies; your print provider's limits come first.
Most hoodies are cotton or cotton-poly fleece, brushed soft on the inside. Mid-weight hoodies usually sit around 8–10 oz/yd² (270–340 g/m²), heavyweights above that. Switch the fabric look in the editor to see how your print sits on it.
A soft nap and matte surface, like a brushed-back hoodie.
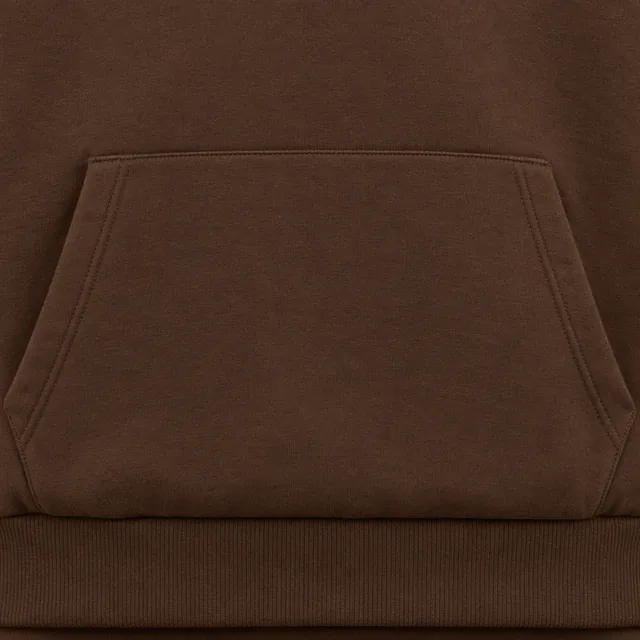
Smooth and flat. The cleanest base for fine print detail.
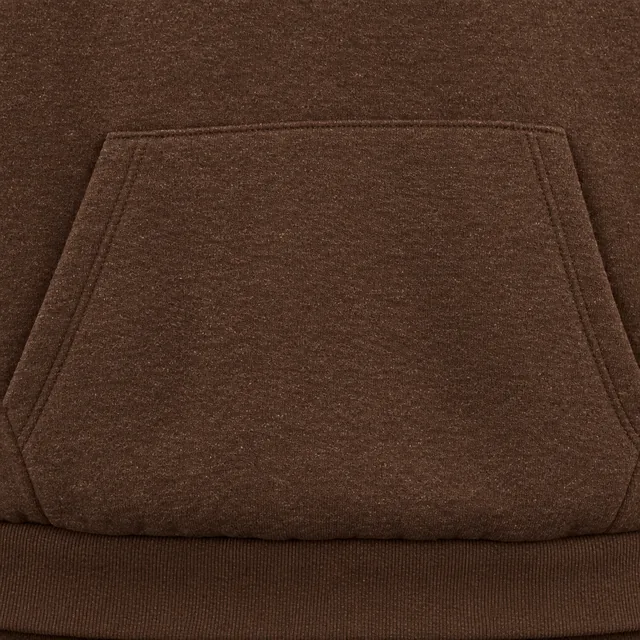
Speckled two-tone yarn that softens thin lines, so keep small text bold.
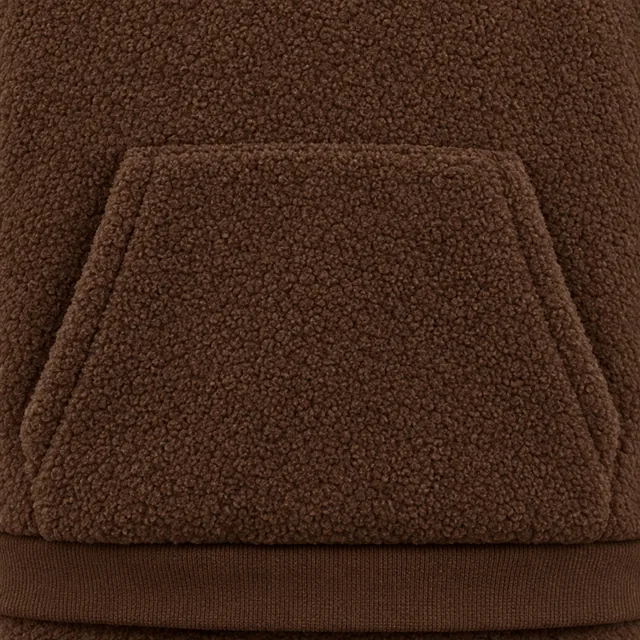
A deep curly pile for winter styles. Prints read softer on it.
Fabric looks change the texture and sheen in the preview. They are visual presets, not a fabric simulation.
Upload the same flat PNG you send to your printer. AmosMind wraps it onto the hoodie, so you see how it bends over the chest, sits above the pocket and runs down the sleeve.
Every category below opens the same live 3D editor. Start with the garment you actually sell.
Hoodies cost more to sample than tees, so teams mock them up before they order. Three jobs come up again and again.
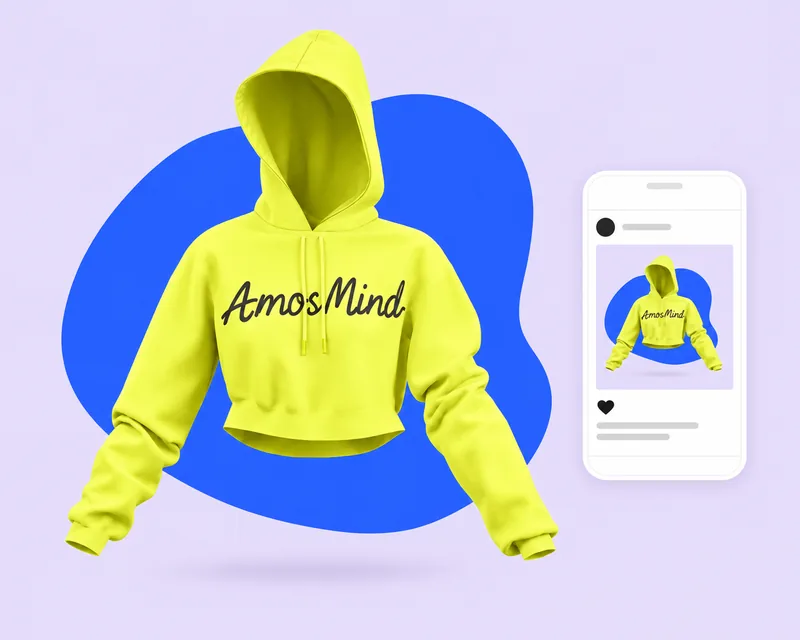
Test oversized and cropped fits with big back prints before you commit to a run.
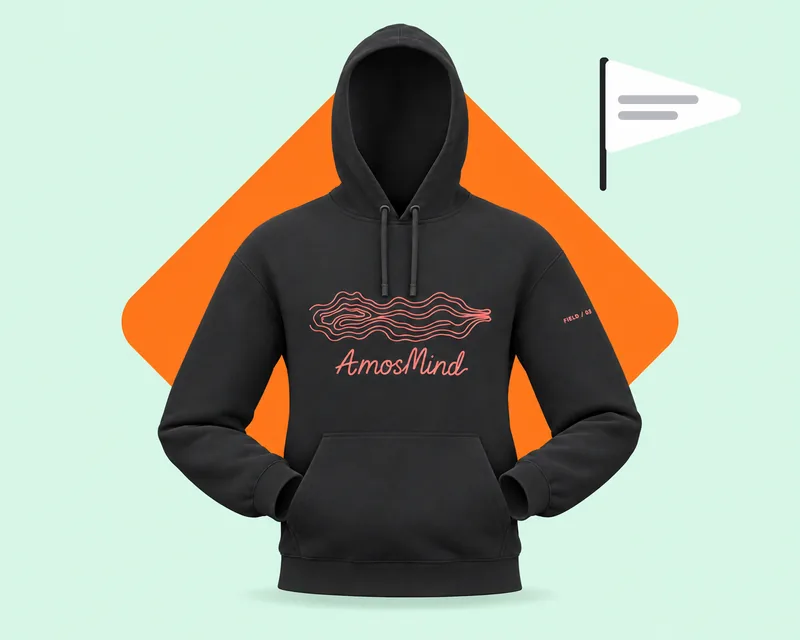
Show names, numbers and crests in place for student groups, teams and alumni.
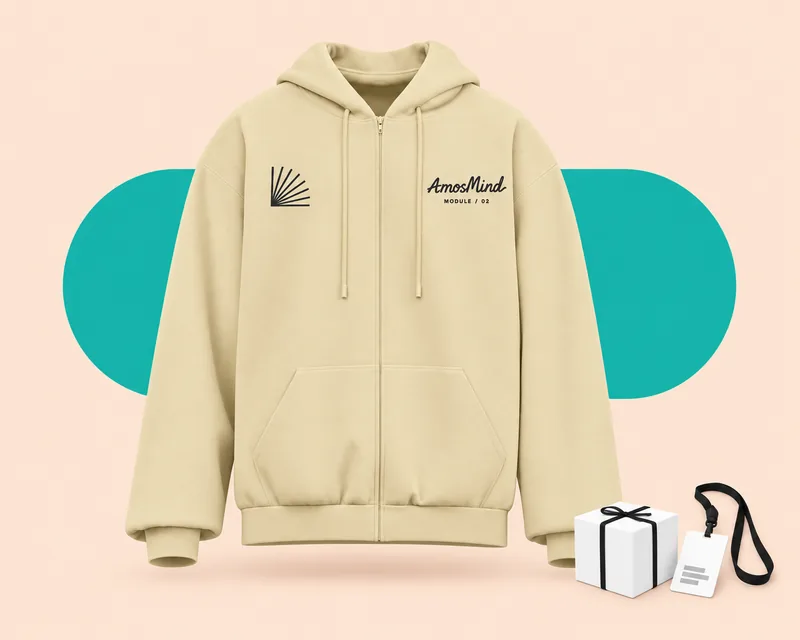
Get sign-off on logo size across pullovers and zip-ups before the order goes in.
Answers about hoods, pockets, zip-ups and prints on hoodies. For general questions, see the clothing mockup FAQ on the homepage.
Pick a hoodie above, upload your artwork and place it on the chest, back, sleeves, hood or pocket. Color the body, cuffs and drawstrings, turn the hoodie to the view you want, then render the image.
Browsing the hoodies and previewing them in 3D is free. Log in with an email code or Google to upload artwork, save projects and render images. Only use artwork you own or have permission to use.
Put artwork on the front and the back of the same hoodie, then render each view. Both images come from one design, with the same light and color, so they match on a product page.
Yes, on the styles that have those print areas. Most pullovers have a printable hood and kangaroo pocket, and every hoodie has separate sleeve areas for vertical text or small marks.
Choose a zip-up style. Its front is two panels with the zipper between them, so place a small logo on the left chest, or add the left and right halves of a chest graphic separately and line them up.
Yes. Open Garment parts in the editor to color the cuffs, hem band, drawstrings, zipper or hood trim on their own, depending on the style.
For printing, prepare artwork at 300 DPI at the final size, for example 3600 × 3000 px for a 12 × 10 in chest print. Keep chest art above the pocket and back art below the hood.
A PSD is one photo of one hoodie from one angle. A 3D mockup is the whole hoodie, so the same design can be checked and rendered from the front, back and sides, in any color.